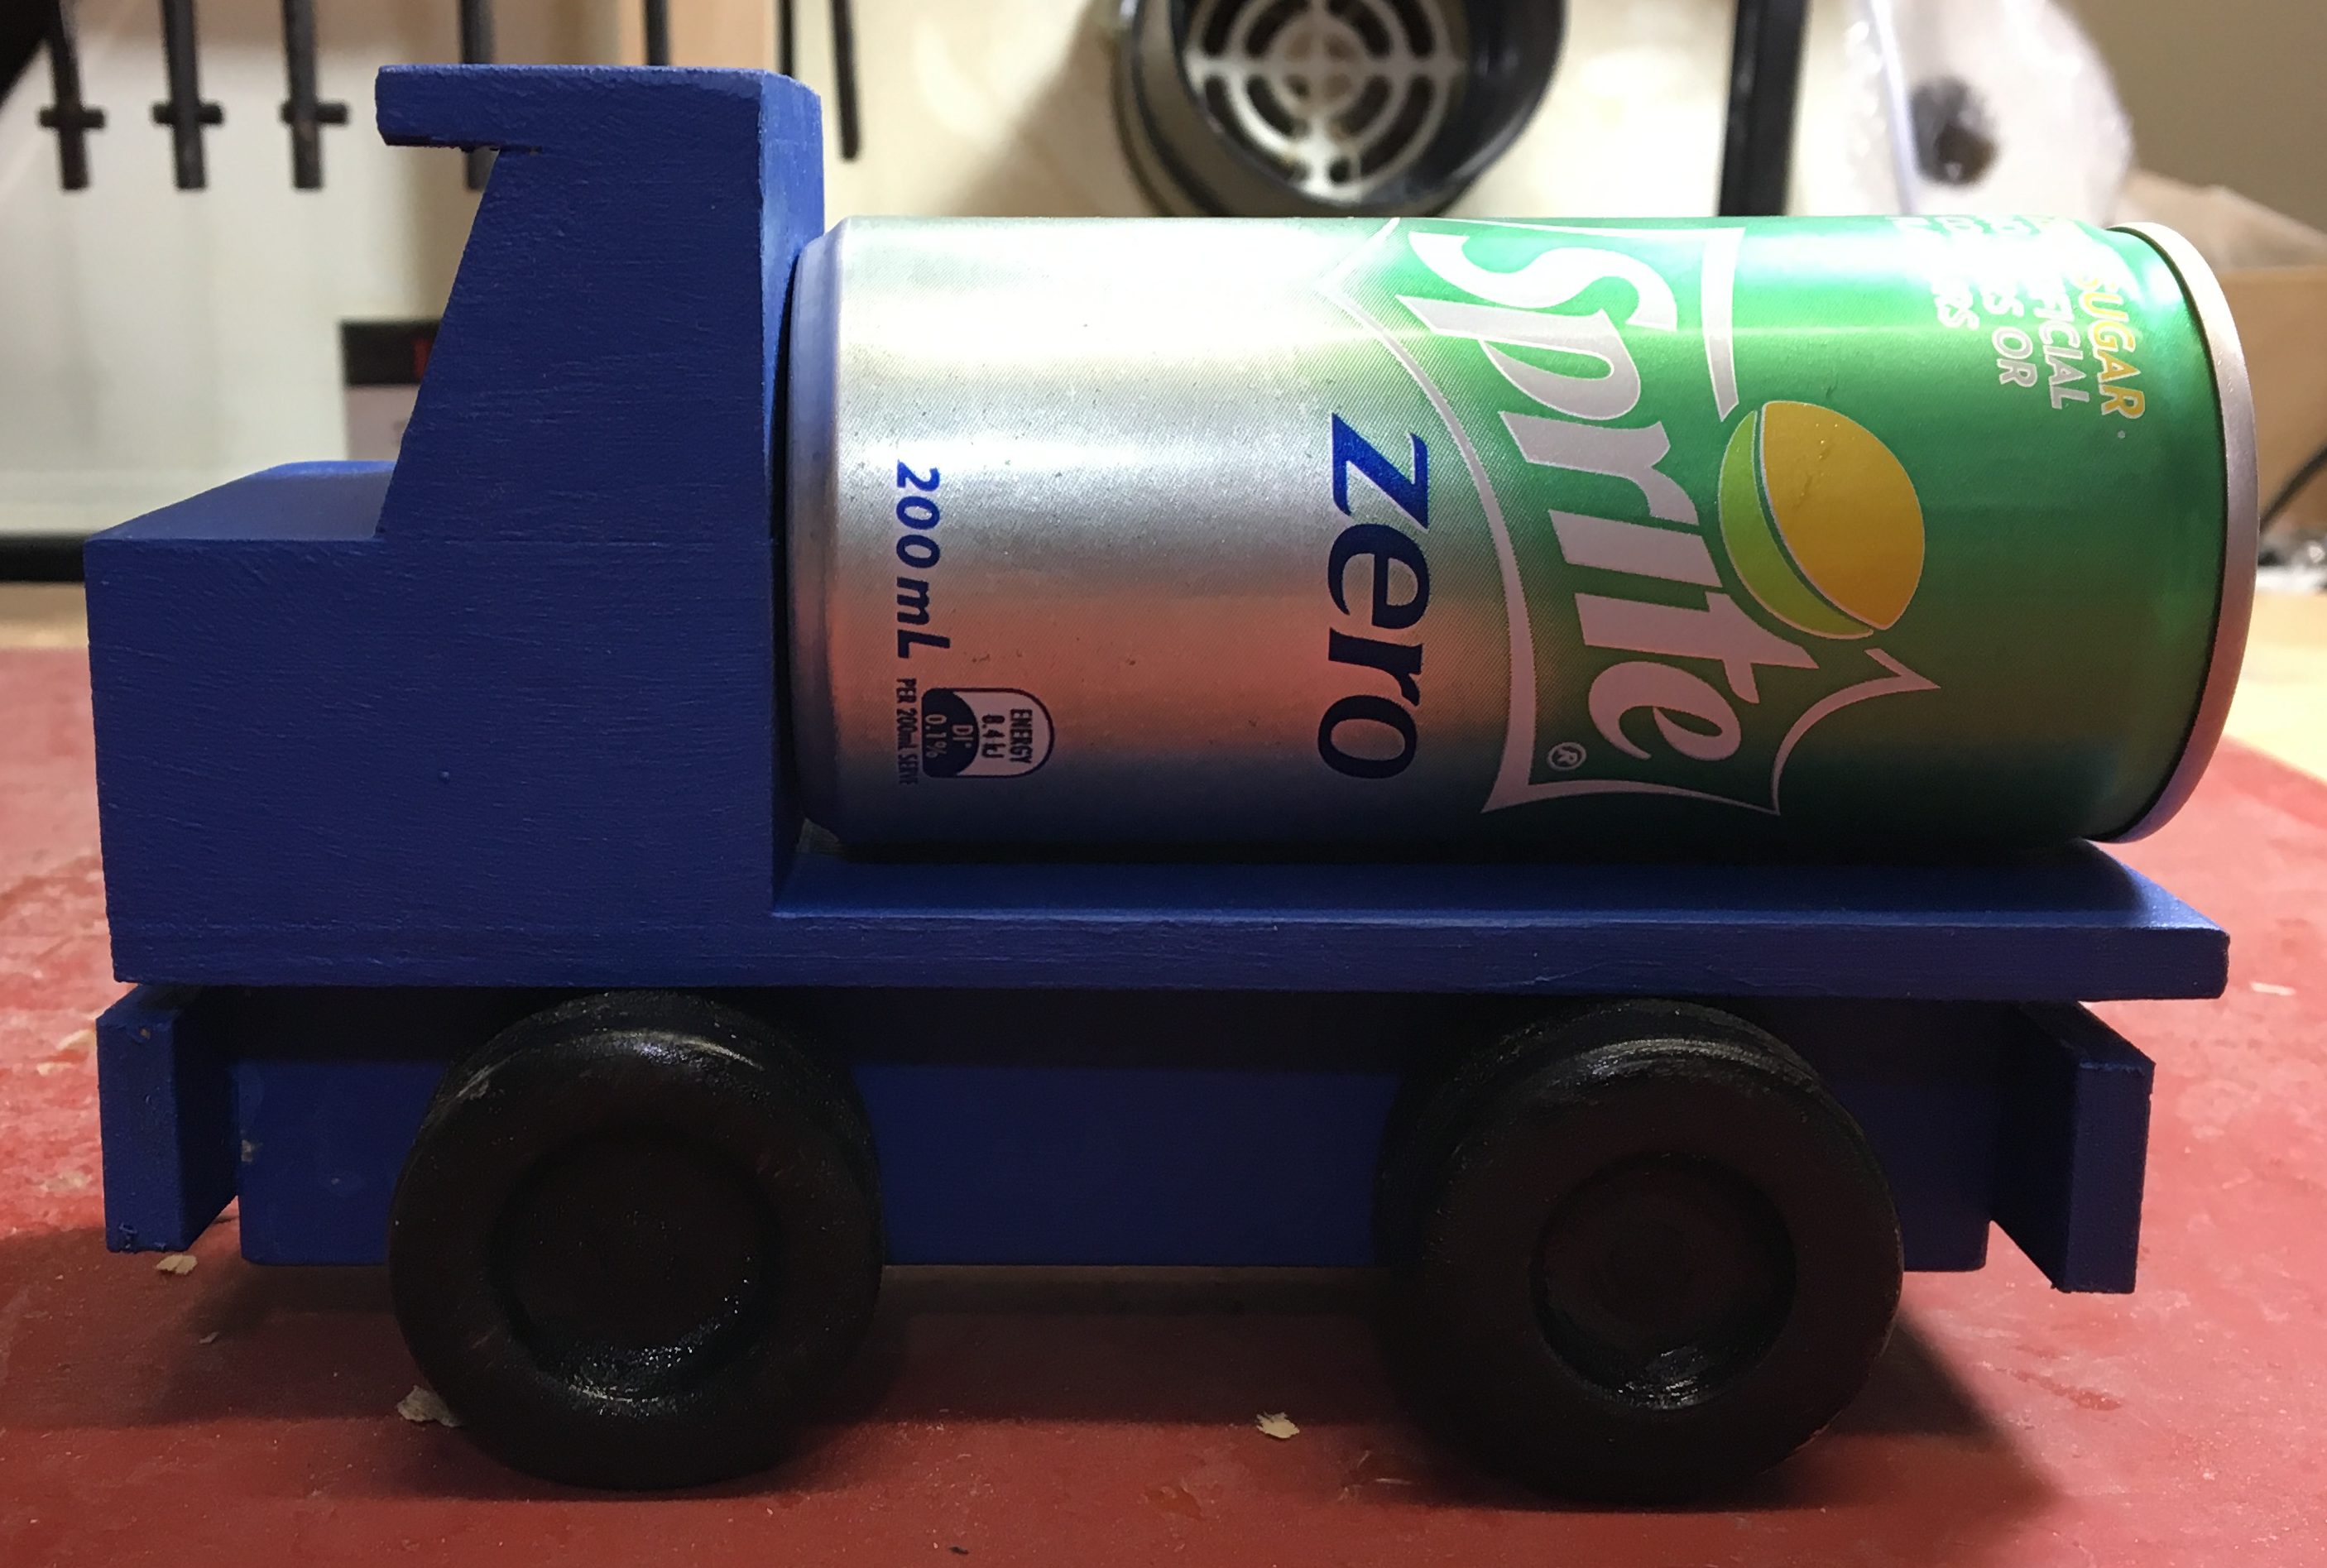
Finally finished some toy trucks for charity Christmas gifts; had 4 partially finished from last year – they had a couple of coats of paint as shown in the photo below.
Had a variety of wheel sizes from Shire Woodworking Club so this dictated the truck sizes. Good way to use scraps of wood and plywood.

Partially glued up; I have found that if I glue the tops first it is easier to clamp. I sand the back of the cab at this stage.
For the larger trucks I screw the base to the axle under the cab as well as gluing.
After the two parts glued together I sand the sides and front.

Had some paint left over from the toy garage so used that plus some craft paint from Bunnings; craft paint was easier to apply.
Painted the main body before adding the bumpers to see if easier but not really easier overall so will go back to old method next time.

Painting the wheels is a pain! Needed to paint one axle and wheel and also separate wheel. Did 2 coats only.
Found that the axle holes were effected by the paint so will need to make larger holes in future – this is the first time I have painted the trucks!

They looked quite good when finished.

Single truck with small drink can to show scale.


